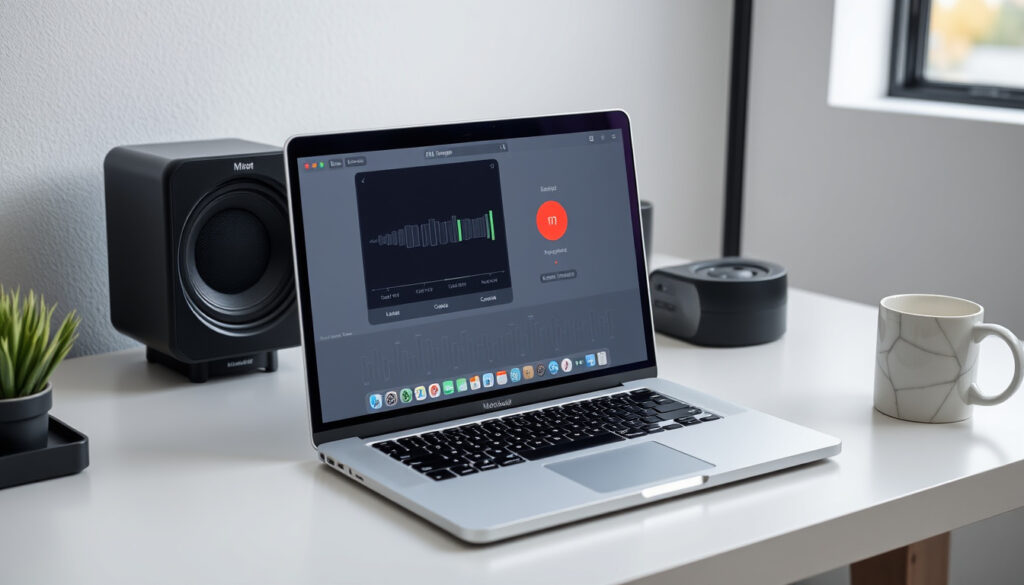
How to Screen Record on Mac: Complete Guide (2025)
Almost everyone who owns a Mac eventually needs to capture what’s on the screen, and Apple includes two free tools for the job — the Screenshot toolbar and QuickTime Player — but system sounds can’t be captured natively, a limitation that has been consistent since macOS Mojave in 2018 (Apple Support (official documentation)). This guide walks through every method, the shortcuts you need, and how to fix the most common frustrations.
Built-in Tool Introduced: macOS Mojave (2018) ·
Default Shortcut: Shift + Command + 5 ·
Output Format: .mov ·
System Audio Recording: Not natively supported; requires third-party software ·
Maximum Length: Unlimited (depends on storage)
Quick snapshot
- Built-in screen recording via Screenshot toolbar (Shift+Command+5) (Itarian (IT management blog))
- QuickTime Player also records screen (CapCut (video editing platform))
- Microphone audio can be selected in both tools (Laxis (productivity blog))
- System audio cannot be recorded natively (Itarian (IT management blog))
- Exact behavior of third-party audio drivers on newer Macs (Apple Silicon) (Laxis (productivity blog))
- Future macOS updates may change the interface or add system audio support (Apple Support)
- Some third-party guides claim QuickTime can record internal audio using audio drivers, but this conflicts with Apple’s official guidance (Laxis (productivity blog))
- Exact behavior on Apple Silicon with third-party drivers is not well documented (Rogue Amoeba (audio software developer))
- Built-in screen recording introduced: macOS Mojave (2018) (Apple Support)
- Last documentation update: August 2026 (Apple Support)
- Third-party tools like OBS Studio and SoundFlower remain the only reliable way to capture system audio (OBS Project (open-source streaming software))
- Apple may eventually add native system audio recording, but no official announcement has been made (OBS Project (open-source streaming software))
Five key facts about Mac screen recording, one pattern: the built-in tools are powerful for basic needs but deliberately omit system audio capture.
| Label | Value |
|---|---|
| Built-in method | Screenshot toolbar (macOS Mojave+) |
| QuickTime alternative | Yes, supports camera and microphone |
| System audio support | Only via third-party tools |
| Default shortcut | Shift+Command+5 |
| Save location | Desktop by default |
The trade-off: Apple’s tools give you a free, zero-setup recording experience, but if you need to record game audio, music, or any internal sound, you’ll have to look elsewhere.
How do I record my screen on a Mac?
What is the shortcut key for screen recording on Mac?
- Press Shift + Command + 5 to open the Screenshot toolbar (Itarian (IT management blog)).
- This toolbar appears at the bottom of the screen with options to record the entire screen, a selected portion, or capture a still image.
How do I open the Screenshot toolbar?
- You can also launch it from the Applications > Utilities folder, or use Spotlight (Command+Space) and type “Screenshot”.
- Once open, click the Record Entire Screen or Record Selected Portion button (Laxis (productivity blog)).
- A 3-second countdown appears before recording begins. To stop, click the stop button in the menu bar or press Command+Control+Esc.
QuickTime Player offers an alternative path: open QuickTime from Applications, go to File > New Screen Recording, and click the red record button (CapCut (video editing platform)). You can also use the shortcut Control+Command+N to jump straight to a new screen recording.
The Screenshot toolbar is the quickest route for most users — one shortcut, one click, and you’re recording. QuickTime is better if you want to record with a camera overlay or adjust quality settings before you start.
What this means: For a simple screen grab with voiceover, the built-in toolbar is all you need. The shortcut is the same across all Macs running macOS Mojave or later, so it’s worth memorizing.
How can I record my screen with system audio on my Mac?
How do I record system audio without a microphone?
- Apple’s native tools — both the Screenshot toolbar and QuickTime Player — can only capture audio from a connected microphone, not the internal system audio (Itarian (IT management blog)).
- This means you cannot record game audio, YouTube music, or any sound coming from your Mac’s speakers without third-party software.
What third-party tools support system audio recording?
- OBS Studio is a free, open-source tool that can capture system audio on Mac using an audio loopback driver (OBS Project (open-source streaming software)).
- SoundFlower (free) or Loopback (paid) create virtual audio devices that route system audio to your recording app (Rogue Amoeba (audio software developer)).
- CleanShot X and ScreenFlow are paid alternatives that include built-in system audio capture and more advanced editing features.
Reports from third-party blogs suggest that some users have managed to get QuickTime to record internal audio using third-party audio drivers, but Apple’s official guidance does not support this workflow (Laxis (productivity blog)).
If you need to record a gaming session or a music app, the built-in tools are a dead end. You’ll need to install additional software and configure audio routing — a step that’s not exactly plug-and-play.
Why this matters: For anyone creating tutorials that include internal app sounds, the lack of native system audio recording is the biggest limitation of macOS’s built-in screen recording. The workaround is free but requires a bit of technical know-how.
How to screen record on Mac using QuickTime
How do I start a QuickTime screen recording?
- Open QuickTime Player from Applications or launch it via Spotlight.
- Go to File > New Screen Recording (Apple Support Communities (user forum)).
- Click the arrow next to the red record button to choose a microphone if you want to capture voice (CapCut (video editing platform)).
- Click the red button, then click anywhere on the screen to record the full screen, or drag to select a portion and click “Start Recording” (AppGeeker (software review site)).
- To stop, click the stop button in the menu bar or press Command+Control+Esc (Apple Support Communities).
How do I record screen with camera in QuickTime?
- In the same recording window, select the built-in camera from the microphone menu (the camera icon) to enable picture-in-picture.
- Your face will appear in a small window overlay during the recording.
How do I adjust recording quality in QuickTime?
- QuickTime records at the display’s native resolution by default. To change quality, go to the recording window’s options and select “Maximum” quality for higher bitrate (Screensnap (productivity blog)).
- After stopping, the recording opens automatically in QuickTime Player for immediate playback and trimming (CapCut (video editing platform)).
The pattern: QuickTime gives you more control than the Screenshot toolbar — camera overlay, quality settings, and immediate editing — but still lacks system audio. It’s the best choice if you want to record a presentation with your face visible.
Why can’t I find my screen recording on my MacBook?
Where does Mac store screen recordings?
- Screen recordings from the Screenshot toolbar are saved automatically to the desktop with the filename “Screen Recording [date]”.mov.
- QuickTime recordings, by default, also save to the desktop unless you specify a different location in the Save dialog after stopping.
- If you’ve used a third-party app like OBS, check the app’
s output folder (usually set in Preferences).
How to access screen recording options in Control Center?
- If the Screenshot toolbar doesn’t appear when you press Shift+Command+5, you may need to add it to Control Center: go to System Settings > Control Center and look for “Screen Recording” in the list (Apple Support (privacy settings)).
- Toggle it on, then you can launch it from the Control Center icon in the menu bar.
If you still can’t find the recording, check the Trash: sometimes files are accidentally deleted. Also verify that you have enough free disk space; a full drive can prevent saving (Itarian (IT management blog)).
The default save location — desktop — is convenient but can clutter your workspace. Consider changing the save location in the Screenshot toolbar’s options to a dedicated “Recordings” folder for better organization.
The implication: Most “missing recordings” are simply saved to the desktop under a generic name. A quick desktop search for “Screen Recording” or a glance at your Downloads folder usually solves the problem.
How to end a screen recording on Mac
How do I stop a screen recording without the shortcut?
- Click the stop button (a black circle icon) in the menu bar at the top of the screen.
- Alternatively, press Command+Control+Esc to stop the recording immediately.
- If you’re using QuickTime, you can also stop from the QuickTime Player window by clicking the stop button.
What happens when I end a recording?
- The recording automatically saves to the default location (usually the desktop) with a timestamped filename.
- For QuickTime recordings, the file opens in QuickTime Player for instant playback and you can trim or export it.
- You can also rename the file immediately after saving.
If you accidentally stop too early, don’t panic — the recording is saved as soon as you stop. You can always start a new recording and later combine clips using iMovie or QuickTime’
s trim feature.
The trade-off: Stopping is straightforward, but there’s no pause button — you have to stop and start a new recording if you need a break. For longer recordings, plan your pauses accordingly.
“To start recording, click the Record button in the Screenshot toolbar.”
— Apple Support (official documentation)
“After you stop a QuickTime screen recording, the recording opens automatically in QuickTime Player.”
— Apple Support Communities (user forum)
“QuickTime Player can record audio from an external microphone but not internal system audio.”
— Laxis blog (productivity guide)
For anyone who needs to record a Mac screen regularly — whether for work, education, or content creation — the built-in tools cover the basics with zero cost and zero setup. Compare this with other Apple ecosystem options like managing an Apple Music Family Plan or finding new things to watch with the Best Shows on Apple TV. The real limitation is system audio, which forces a choice: either work within the microphone-only constraint, or invest in third-party software like OBS Studio or Loopback. For the average user creating quick tutorials or bug reports, the Screenshot toolbar and QuickTime are more than enough. For the gamer, podcaster, or software reviewer, the extra effort of installing a free tool like OBS pays off immediately. The decision is clear: if you need system audio, go third-party; if you don’t, Apple’s free tools are all you need.
techcommunity.microsoft.com, canadaedition.org, simplymac.com, discussions.apple.com, discussions.apple.com
Frequently asked questions
Can I record the screen on a Mac without QuickTime?
Yes, use the Screenshot toolbar (Shift+Command+5). It’s pre-installed on macOS Mojave and later.
How do I reduce the file size of a screen recording?
Use QuickTime’s export options: after recording, go to File > Export As, and choose a lower resolution or the “Reduce file size” option. You can also use HandBrake (free) to compress the file.
Does screen recording affect Mac performance?
Yes, especially on older Macs. Recording at high resolution or while running heavy apps can cause lag. Close unnecessary apps and use a selected portion recording to reduce load.
How do I add audio to an existing screen recording?
Import the recording into iMovie or QuickTime Player. In QuickTime, you can add an audio track by going to Edit > Insert Clip After Selection and selecting an audio file.
What file format are screen recordings saved in?
Both the Screenshot toolbar and QuickTime Player save recordings as .mov files (QuickTime movie format).
Is there a time limit on Mac screen recordings?
No, recordings can run as long as you have free disk space. However, very long recordings produce large files that may be difficult to edit or share.
How do I record a specific window instead of the full screen?
In the Screenshot toolbar, choose “Record Selected Portion” and drag the frame to cover the window. In QuickTime, select the area after clicking the record button.
Can I pause a screen recording on Mac?
Neither the Screenshot toolbar nor QuickTime Player offer a pause button. You must stop the recording and start a new one. Some third-party tools (e.g., OBS) support pause.
More related posts
 What Is Power BI? Uses, Excel Comparison & Beginner Guide
 Cast of Avatar 2: Actors and Characters in The Way of Water
 How Did Val Kilmer Die – Pneumonia After Cancer Battle
 Public Golf Courses Near Me: Solo Play & Health Benefits
 Dairy Queen Gift Card Balance: Check Online or by Phone
 Sweet and Sour Sauce Recipe: The Secret to Balanced Flavor
 How Many Ounces in a Shot? US and Global Sizes
 Micro Center Near Me: USA-Only Stores & EU Shipping Alternatives
